
Admin Users
This section covers admin user management and portal configuration.
Admin User Management
Creating a New Admin User
Admin users can be created by a person who holds the TENANT_SYSTEM role (or a role with equivalent permissions).
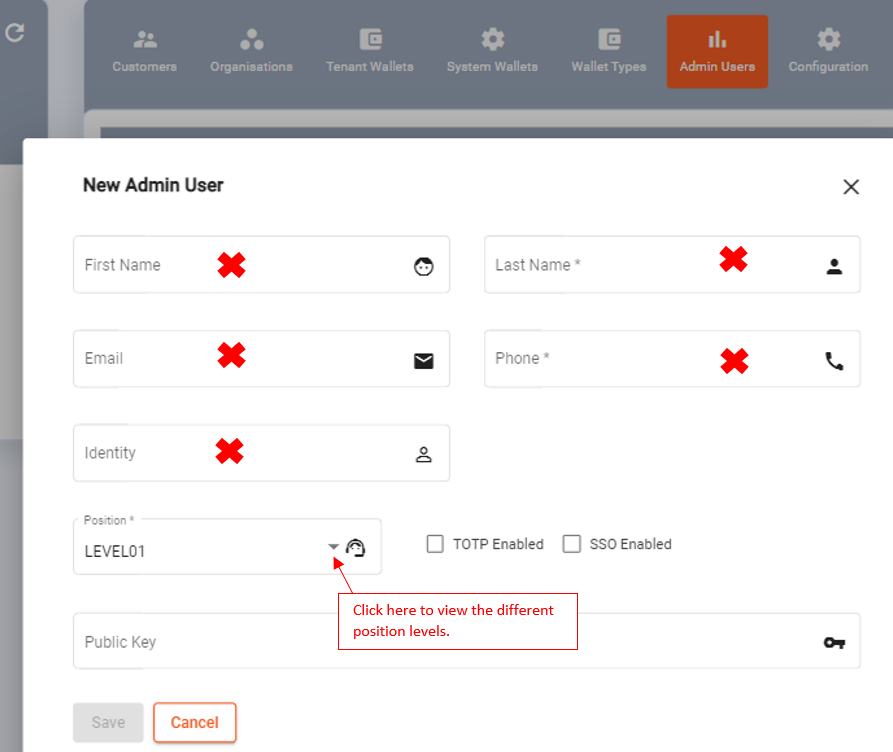
Setup Admin Users
To create an admin user:
- Navigate to Configuration in the left navigation.
- Select Admin Users.
- Click the + (plus) icon to open the new admin user form.
- Complete all required fields. Fields marked with a red X are mandatory:
- First name and last name
- Email address — must be correct; the welcome email with the system-generated password is sent here
- Role (LEVEL_01, LEVEL_02, LEVEL_03, TENANT_SYSTEM, or as configured for your tenant)
- Division (optional) — shown once divisions exist under Divisions in the tenant menu. A checker in a division only approves tasks raised by makers in the same division; leave as None to approve any task. See Division-Aware Approvals. You can change or clear the division later by editing the user.
- Do not create a password for the user — the system generates and emails a password automatically.
- Click Save.
NoteThe welcome email sent to admin users might go to the spam or junk mail folder. Ask new users to check there if they do not receive it promptly.
Password complexity rules are controlled by the public tenant property passwordRegEx. To configure this:
- Add a global property
public.tenant.<tenantId>with:passwordRegEx= password complexity regex (e.g.^[A-Za-z0-9!@#$%]{8,}$)passwordRegExErrorMsg= the error message shown when the password does not match
Setting Up PKI Authentication
PKI (Public Key Infrastructure) authentication is the most secure authentication method and is strongly recommended for any TENANT_SYSTEM or backend integration account. In this approach, a tenant loads their public key through the Admin Portal. Eclipse uses this public key to encrypt data that can only be decrypted by the holder of the corresponding private key — no credentials are shared in API calls.
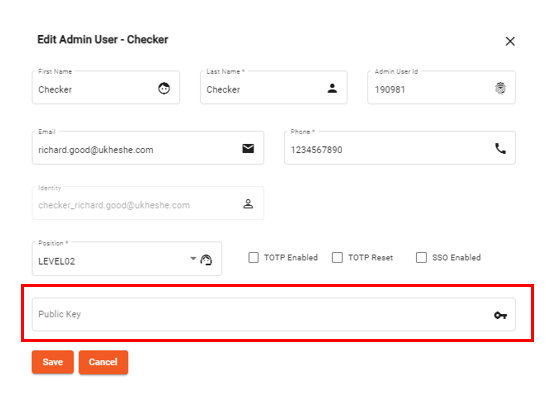
Enable public key authentication on admin users
NotePKI authentication is in addition to Identity/Password authentication. First add the admin user as normal (without a public key) so they receive a welcome email and set their initial password. Once that is complete, add the public key to the user profile.
To generate and load a public key:
- Generate a public/private key pair:
openssl req -nodes -x509 -sha256 -newkey rsa:4096 \
  -keyout "PrivateKey.key" \
  -out "PublicKey.crt" \
-days 99999- Extract the base64-encoded public key:
openssl x509 -in PublicKey.crt -pubkey -noout \
| grep -v "\-\-\-\-\-" | base64 -d | base64 -w0- In the portal, open the admin user's profile and paste the base64-encoded public key into the Public Key field.
- Click Save.
For full implementation details, refer to the PKI Authentication section of the Eclipse Integration Guide.
Setting Up TOTP (Multi-Factor Authentication)
Multi-factor authentication (MFA) is strongly recommended for all admin portal users. Eclipse supports RFC 6238 Time-Based One-Time Passwords (TOTP).
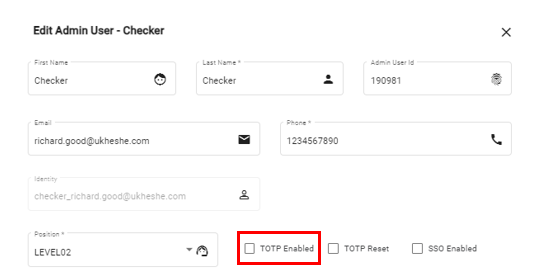
Enable TOTP for admin user
To enable TOTP for an admin user:
- Navigate to Configuration > Admin Users.
- Open the admin user's profile.
- Enable the TOTP toggle for that user.
- A QR code is displayed. The admin user must scan this QR code with any RFC 6238-compliant authenticator app (for example Google Authenticator or Microsoft Authenticator, available in all app stores).
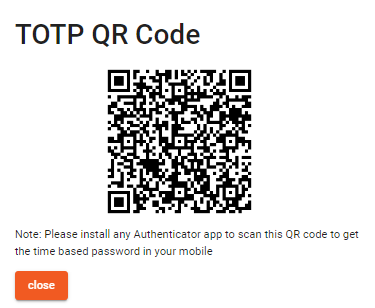
QR to scan with authenticator app
- After scanning, the user's app begins generating 6-digit one-time passwords.
- From this point, the user must enter both their password and the current 6-digit OTP when logging in.
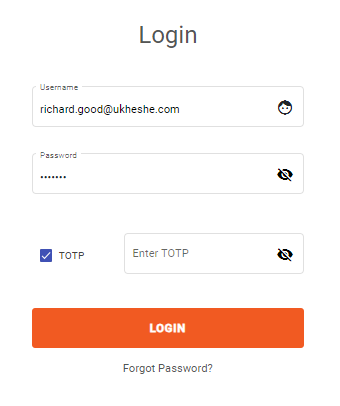
Provide TOTP on login
With MFA enabled, compromising an account requires both the user's password and physical access to their authenticator device.
Configuration & Permissions
Viewing and Editing Permissions
Permissions control what each role level can do in the portal. A business or management decision must be taken to decide what permissions each user level should have.
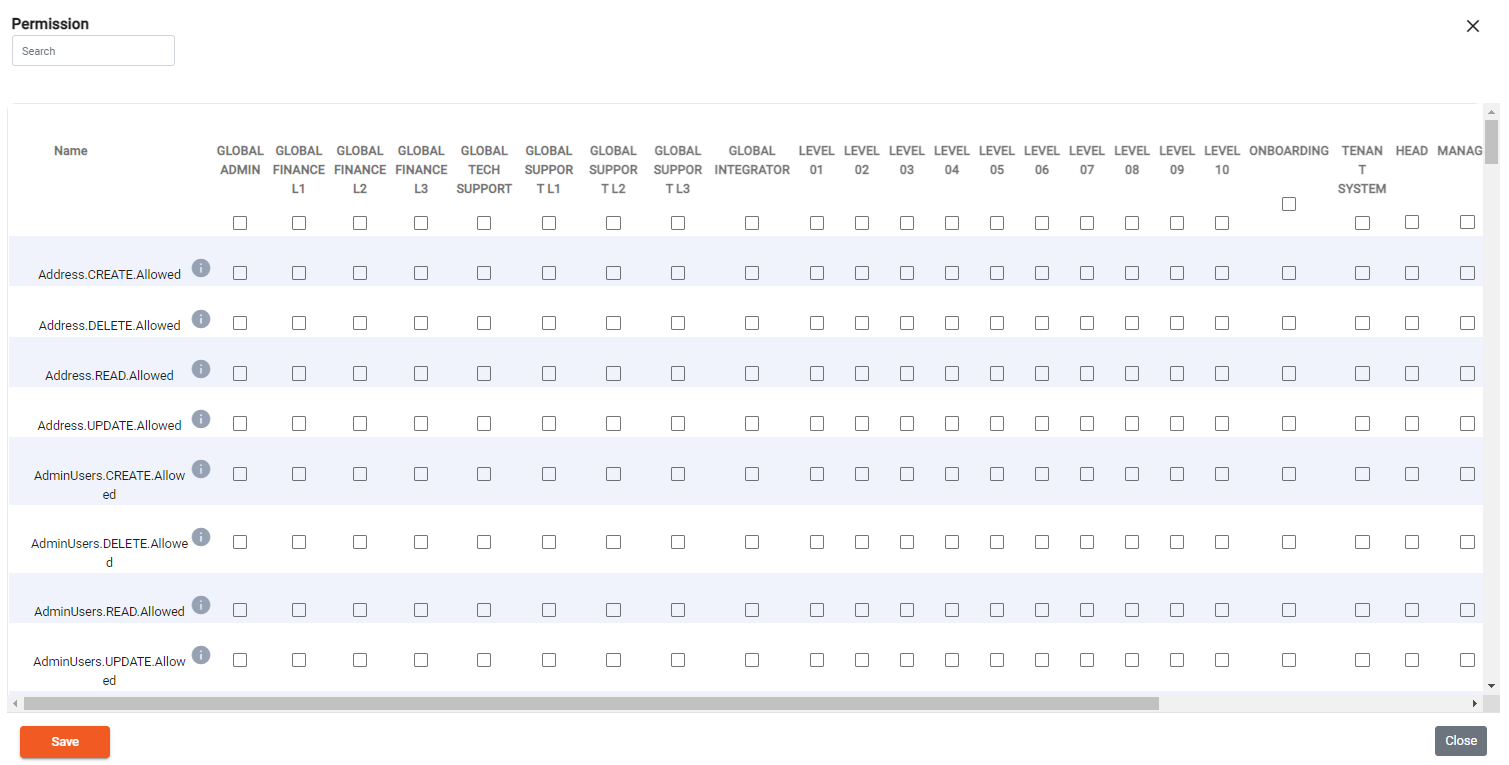
Permissions
To view permissions:
- Navigate to Configuration.
- Click the lock icon to view the permissions matrix for all user levels.
To edit permissions:
- Navigate to Configuration and click the permission icon.
- Select the role level you want to modify.
- Toggle individual permissions on or off.
- Save changes.
WarningPermission changes take effect for all users currently assigned to the modified role. Review carefully before saving — restricting a permission that active users depend on may disrupt their work.
Viewing Tenant Configuration
To view tenant configuration (config items):
- Navigate to Configuration.
- Click the star icon to see all configuration values set up for your tenant.
NoteMost configuration keys should only be modified by EFT Corporation or an authorized technical administrator. Contact [email protected] to request changes to core config values.
Viewing Properties
Go to Configuration and click the menu icon to view the configuration properties.
Key properties relevant to tenant setup:
| Property | Purpose |
|---|---|
public.tenant.<tenantId> — passwordRegEx | Password complexity rule for admin user passwords |
public.tenant.<tenantId> — passwordRegExErrorMsg | Error message shown when password does not match the complexity rule |
Updated 15 days ago